You open your kitchen drawer to grab a spoon, and your utensil tray has slid all the way to the back. You reach for your lipstick, and your organizer is tilted, spilling everything. Sliding drawer organizers are a small problem—but an annoying one you deal with every day.
The fix is simple: add grip, reduce friction, or secure the organizer in place using non-slip liners, adhesive pads, or better-fitting inserts. Choosing the best drawer organizers for small spaces can also reduce movement by ensuring a snug fit from the start. The right solution depends on your drawer surface and the type of organizer you’re using, but most can be done in minutes without tools or permanent changes.
Key Takeaways
- Sliding drawer organizers are usually caused by low friction, smooth surfaces, or poor fit
- Quick fixes like non-slip liners, removable adhesives, and rubber feet can solve most problems in minutes
- Non-slip liners provide full-drawer stability, while rubber feet and adhesives work best for targeted grip
- The right solution depends on organizer material, drawer surface, and whether you need a removable or permanent setup
- Proper cleaning and even placement are essential for anti-slip solutions to work effectively
- Avoid common mistakes like overloading organizers or using the wrong liner type for your environment
Quick Fixes to Keep Drawer Organizers in Place
These non-slip drawer organizer solutions are quick, affordable, and effective for most drawer types
Use Removable Adhesives (Putty, Gel, or Tape)
For an instant, no-fuss fix, removable adhesives are one of the easiest solutions. They work best for lightweight organizers and are especially suitable for renters.
Roll a small piece of museum putty between your fingers until soft, press it onto the bottom corners of the organizer, then secure it firmly in place inside the drawer. Double-sided tape or gel pads can be used in the same way.
If you need flexibility, Velcro strips are a practical alternative—allowing you to secure the organizer while still being able to remove it easily.
Best for: lightweight organizers and temporary setups
Add Non-Slip Drawer Liners
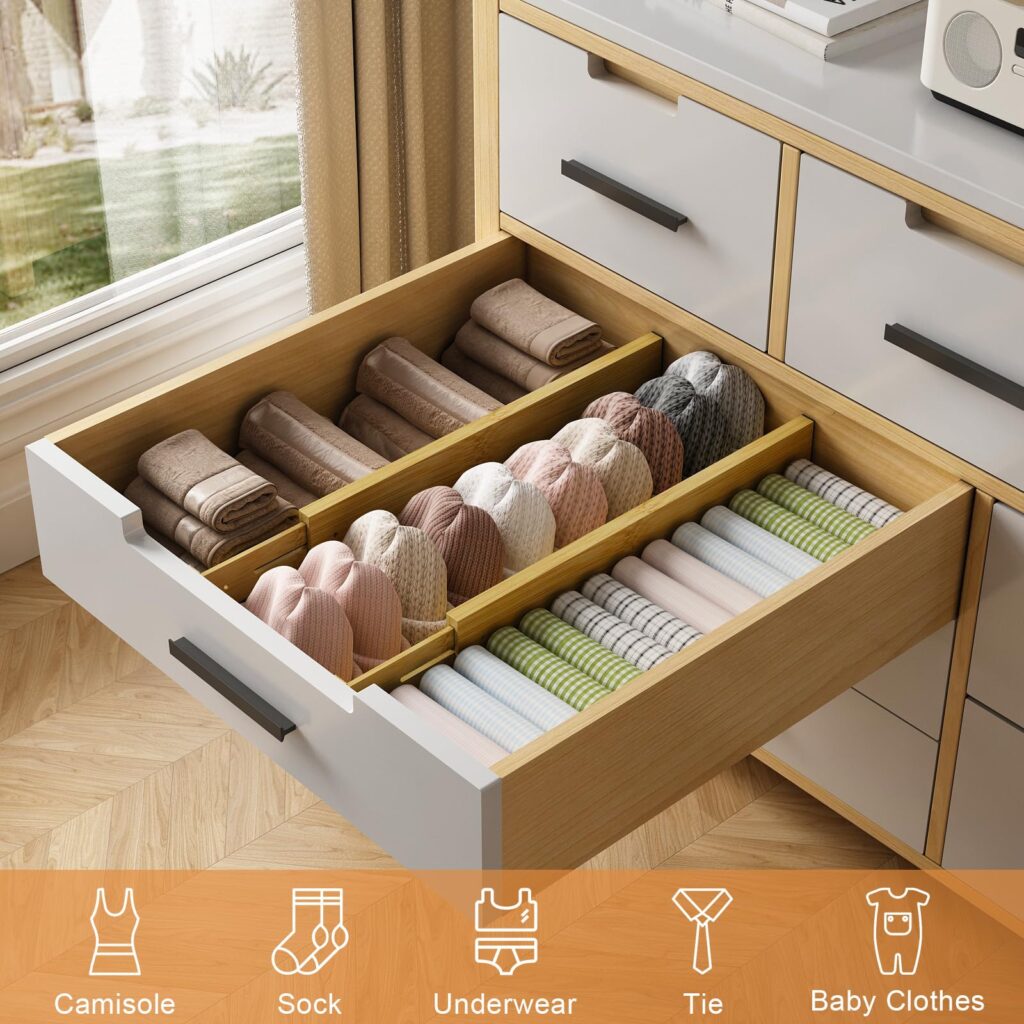
They’re especially useful if you’re trying to organize kitchen drawers efficiently while keeping everything in place.
Different materials offer different levels of grip, durability, and maintenance:
| Liner Type | Best For | Pros | Cons |
|---|---|---|---|
| EVA (Non-Adhesive) | Cutlery, utensils, office supplies | Easy to cut, wipeable, affordable | Some textures trap crumbs |
| Rubber / PVC Grip | Heavy cookware, pots and pans | Extremely grippy, durable | Mesh styles can let spills through |
| Silicone | Under-sink areas, trash pull-outs | Waterproof, washable, stain-resistant | Glossy finishes can feel sticky |
| Cork | Glassware, plates, delicate items | Natural look, provides cushioning | Not ideal for frequent wetting |
| Fabric / Felt-Top | Jewelry, makeup, tech accessories | Great sound dampening, soft surface | Absorbs liquids and stains |
Best for: full-drawer stability and multiple items
Attach Rubber Feet or Bumpers
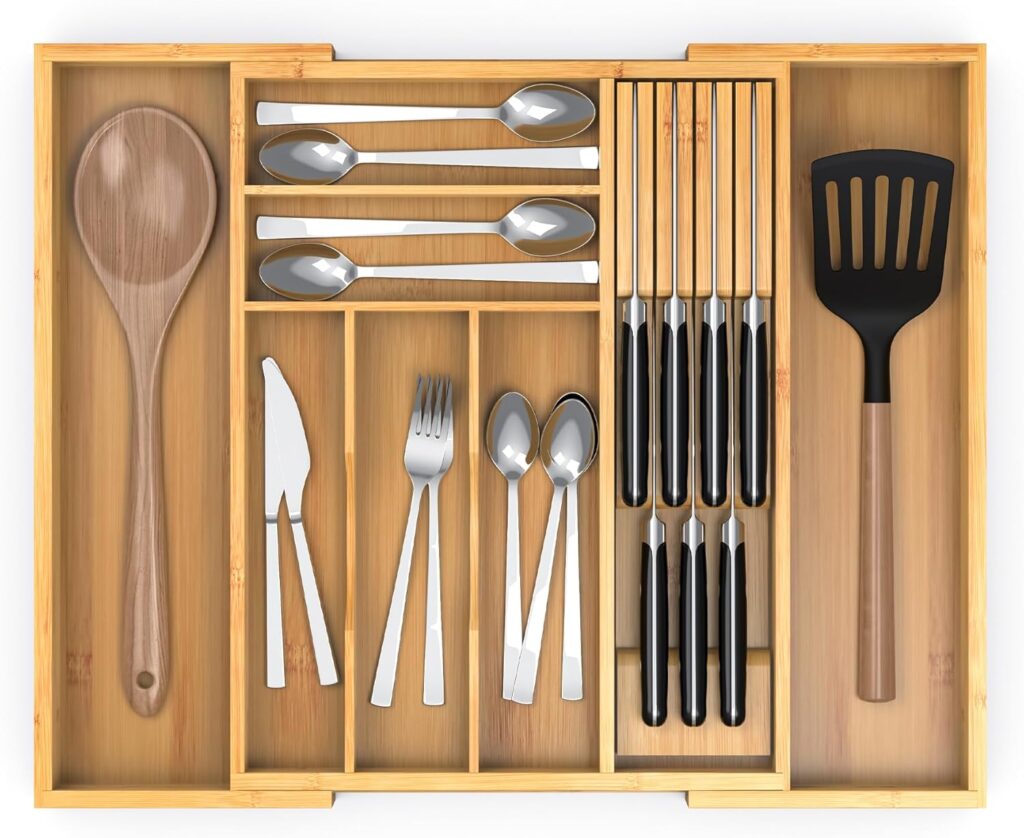
Rubber feet or adhesive bumpers add friction directly to the base of the organizer, helping it stay in place even on smooth or slightly uneven surfaces. They are particularly effective for wooden or bamboo organizers that tend to slide easily.
For maximum stability, combine rubber feet with a non-slip liner underneath.
Best for: heavier organizers or uneven drawer surfaces
Step-by-Step: How to Stop Drawer Organizers from Sliding
1. Clean and Prepare the Drawer Surface
Dust, crumbs, and grease can reduce friction and prevent anti-slip solutions from working effectively, so proper preparation is essential.
Start by removing all items from the drawer. Wipe the surface with a damp microfiber cloth, and use white vinegar or mild dish soap to break down any grease. Let the drawer dry completely before moving on, as moisture can weaken grip.
Important: Do not mix vinegar and baking soda for cleaning—this neutralizes both and reduces effectiveness.
2. Apply Your Chosen Anti-Slip Solution
Choose the method that fits your setup, then apply it carefully:
- For liners: Measure and cut the liner to fit the drawer precisely, then smooth out any bubbles or wrinkles
- For rubber feet: Attach one to each corner of the organizer; add more for larger or heavier items
- For adhesives: Apply putty, gel pads, or Velcro to the bottom corners only for easier removal later
Make sure everything is evenly placed to avoid tilting or uneven support.
3. Adjust and Test the Fit
Place the organizer back into the drawer and test its stability by opening and closing the drawer several times, gently shaking it, and moving items inside.
If the organizer stays in place without shifting, your setup is working. If it still slides, add more grip points or adjust the positioning until it feels secure.
Choosing the Right Solution for Your Needs
By Organizer Material
Different materials interact with drawer surfaces differently, so choosing the right anti-slip method is key:
| Organizer Material | Best Anti-Slip Solution |
|---|---|
| Bamboo | Rubber feet + non-slip liner |
| Plastic | Non-slip liner or Velcro |
| Metal Wire | Heavy-duty rubber liner + bumpers (prevents scratching) |
For Renters vs. Homeowners
- Renters: Stick to removable, residue-free solutions like museum putty, non-adhesive liners, and Velcro. Never use permanent glue or nails.
- Homeowners: Can use more permanent solutions like adhesive liners or custom-built drawer inserts for a seamless look.
Common Mistakes to Avoid
- Using permanent adhesives: Super glue and construction adhesive will damage drawer surfaces and leave permanent marks.
- Overloading organizers: Excess weight causes even the best anti-slip products to fail. Spread heavy items evenly and only fill organizers to 80% capacity.
- Skipping the cleaning step: Dust and grease will prevent adhesives and liners from sticking properly.
- Using the wrong liner for the job: Thin liners won’t hold heavy items, and fabric liners shouldn’t be used in wet areas like bathrooms.
Conclusion
Keeping drawer organizers from sliding doesn’t require complicated tools or permanent changes. In most cases, adding friction through liners, adhesives, or rubber feet is enough to create a stable setup.
The best approach is to match the solution to your specific needs—lightweight organizers may only need simple adhesive pads, while heavier or frequently used items benefit from a combination of liners and rubber supports. Taking a few minutes to clean the drawer and apply the right method can make a noticeable difference in everyday use.
With the right setup, your drawers stay organized, accessible, and frustration-free.
FAQ
How can someone keep a bamboo drawer organizer from sliding?
Use non-slip silicone pads or rubber feet on the bottom. The YESUN Bamboo Drawer Organizer comes with pre-installed silicone pads that provide excellent grip without damaging drawer surfaces.
Are non-slip liners safe for all drawer types?
Most non-slip liners are safe for wood, metal, and plastic drawers. Always test a small, hidden spot first, especially on delicate or unfinished wood surfaces.
What is the best way to clean a bamboo drawer organizer?
Wipe with a damp cloth and mild soap. Never soak bamboo in water, as this can cause warping and cracking. Dry thoroughly before putting it back in the drawer.
Can renters use adhesive solutions without damaging drawers?
Yes. Removable products like museum putty, double-sided mounting tape, and Velcro will not leave marks or damage most surfaces. Always test on a hidden spot first.
How do I keep metal wire organizers from scratching my drawers?
Place a non-slip rubber liner under the wire organizer. You can also add rubber bumpers to the bottom of the wire frame for extra grip and scratch protection.
Why do organizers still move after using non-slip products?
The most common reasons are overloading, a dirty drawer surface, or using the wrong type of liner for your organizer material. Try adding more anti-slip pads or switching to a heavier-duty liner.